How to use Rice
From the install command to your first notes, in the order the app’s own guide follows. Each step takes a minute or two, and you only do most of them once.
Updated
Step 1
Install Rice
Open Terminal and paste this command. It downloads Rice into
~/rice, checks your setup, installs what is missing with Homebrew, builds the app and puts it in Applications. The first time takes a few minutes.curl -fsSL https://ricenotes.app/install | bashYou need a Mac with Apple Silicon (M1 or newer) and macOS 14 or newer, plus the Xcode Command Line Tools, Homebrew and Node.js 22. Because Rice is built on your Mac, macOS does not block it.
Then open Rice. How to use Rice, in the sidebar, is a checklist of these same steps, and each one shows Done as you finish it.
Step 2
Allow the macOS permissions
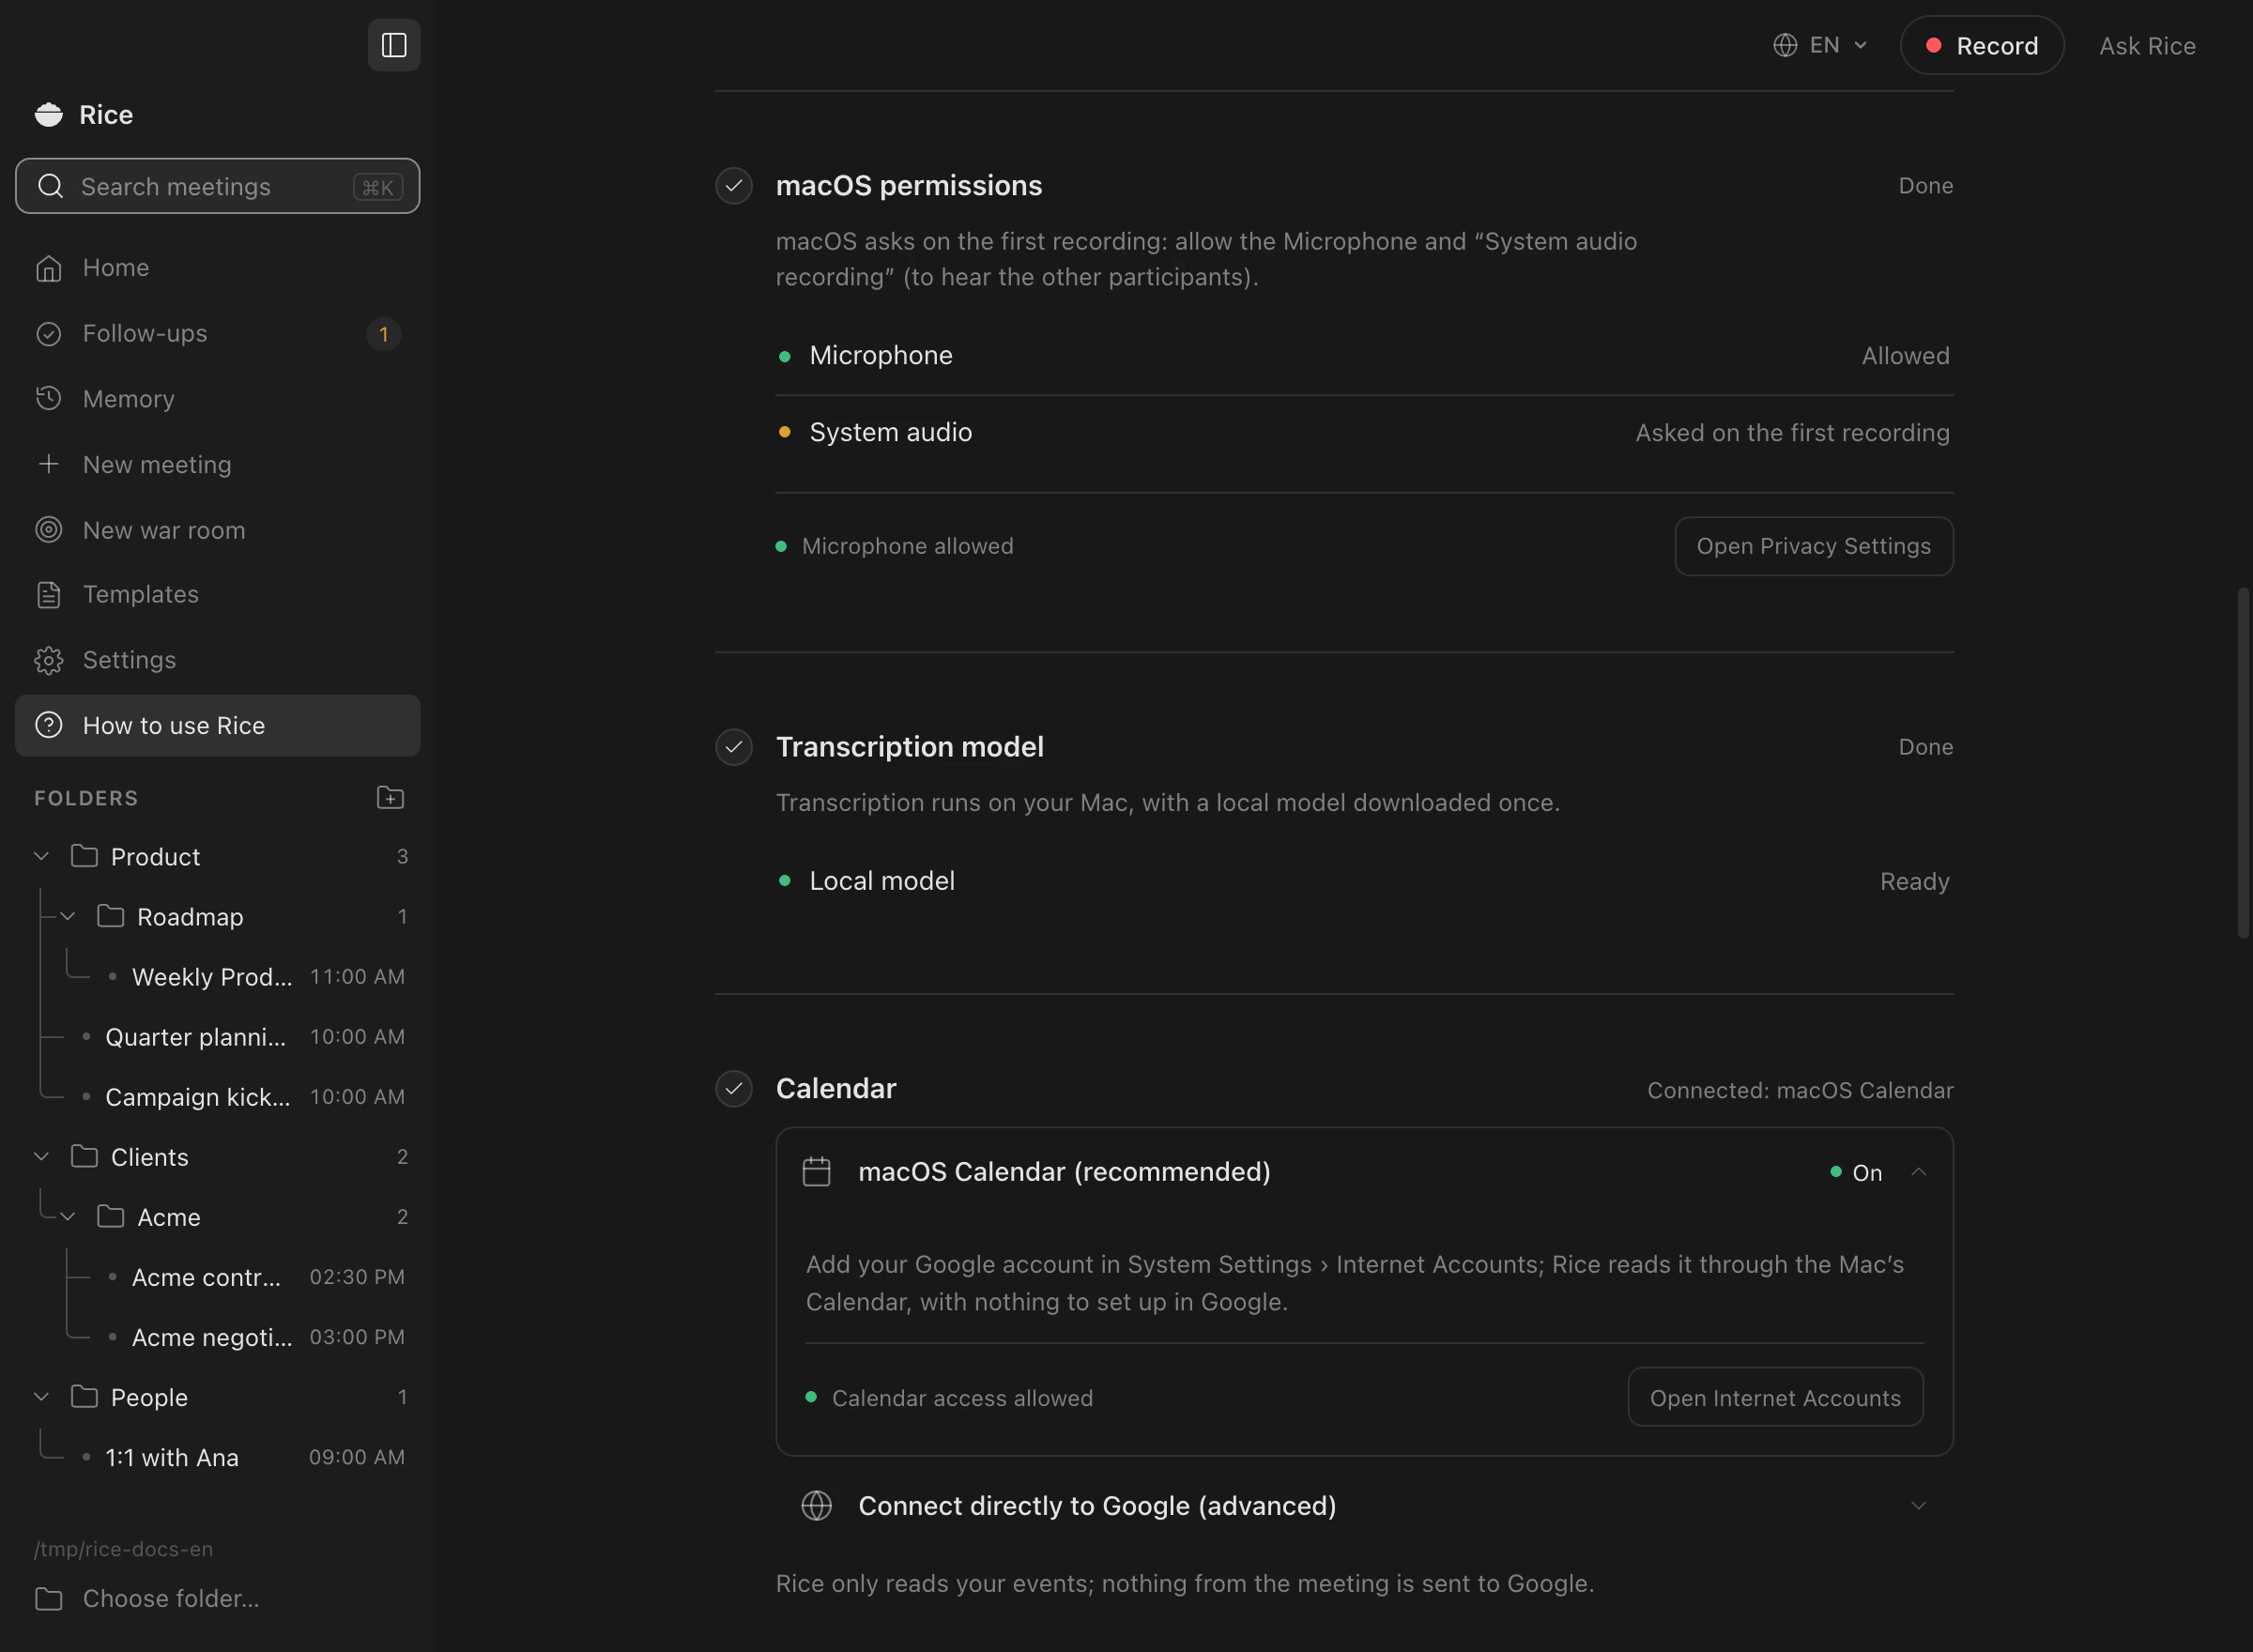
On first launch Rice downloads the transcription model, about 0.6 GB, once. On your first recording macOS asks for permissions:
- Microphone, so Rice hears you.
- System audio recording, so Rice hears the other participants. It is in Privacy & Security › Screen & System Audio Recording.
- Screen Recording, only if you turn on screenshots, which are off by default.
The guide has an Open Privacy Settings button. Turn on Rice there, and reopen the app if macOS asks you to.
Step 3
Choose where meetings are saved
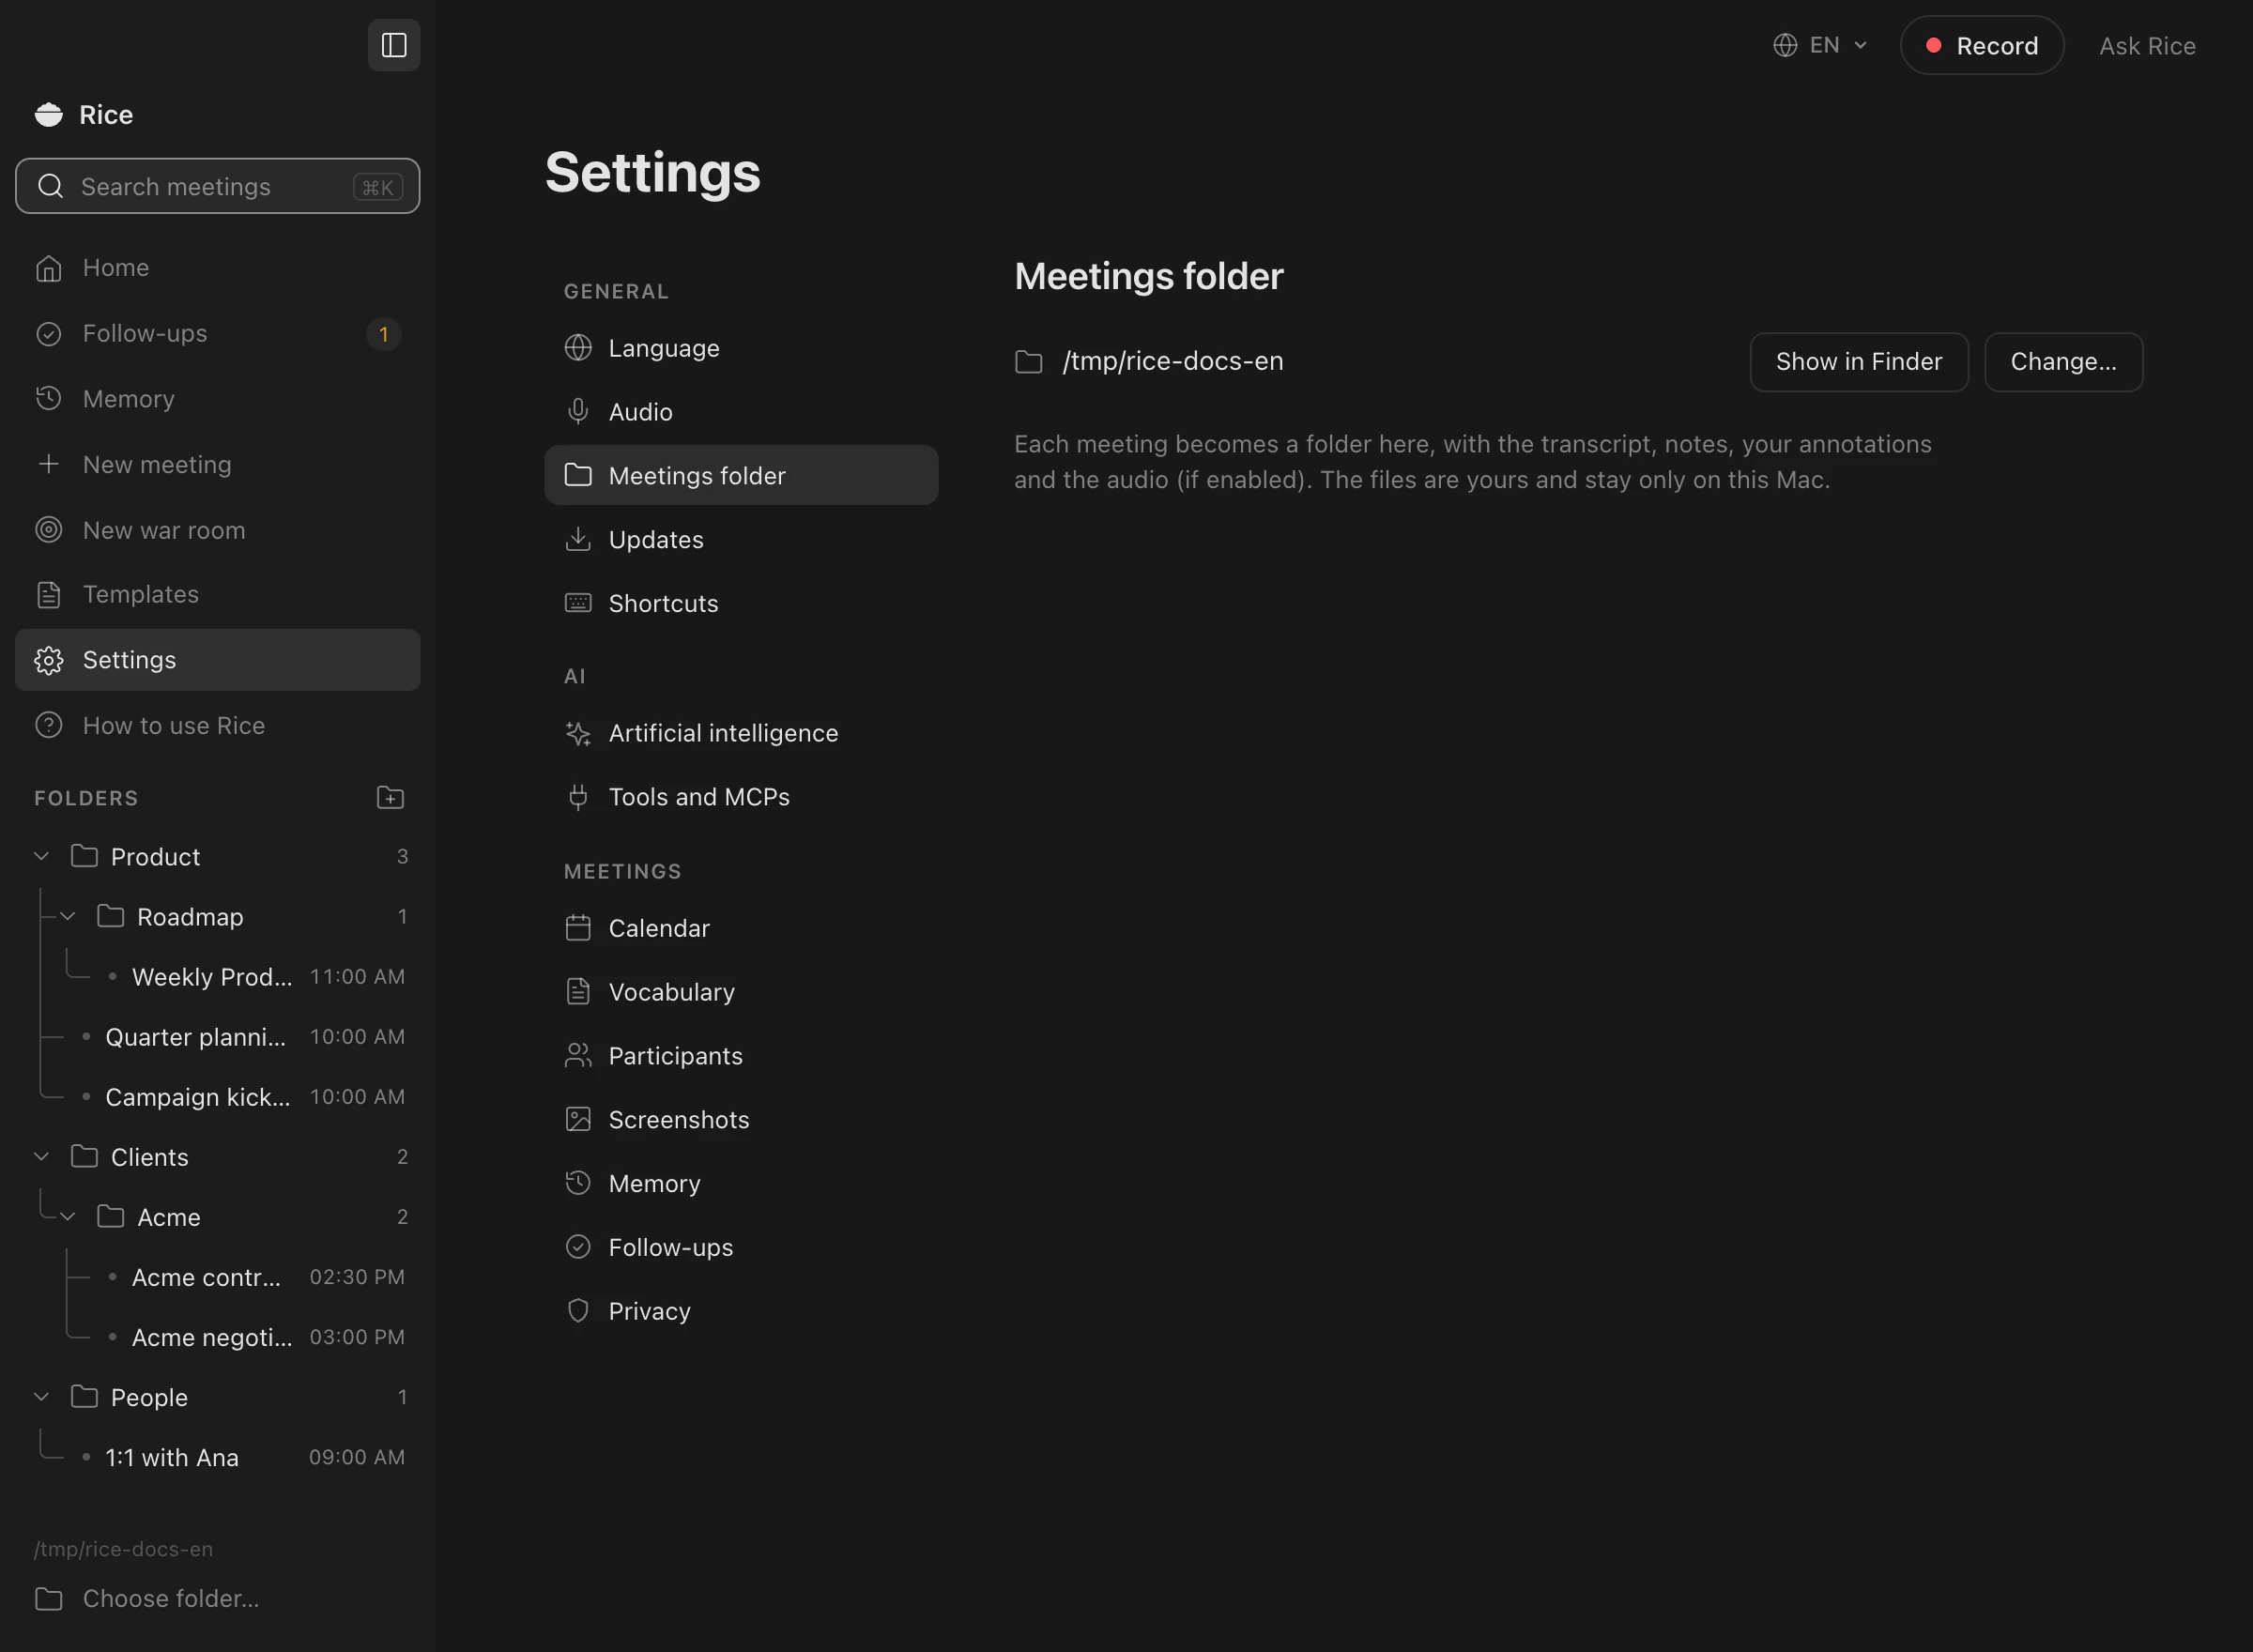
Each meeting becomes a folder with the transcript, the notes, your annotations and the chat, as Markdown files that any app opens. Pick the place in Settings › Meetings folder, or with Change folder… in the guide. The files are yours and stay on your Mac.
Step 4
Connect the AI
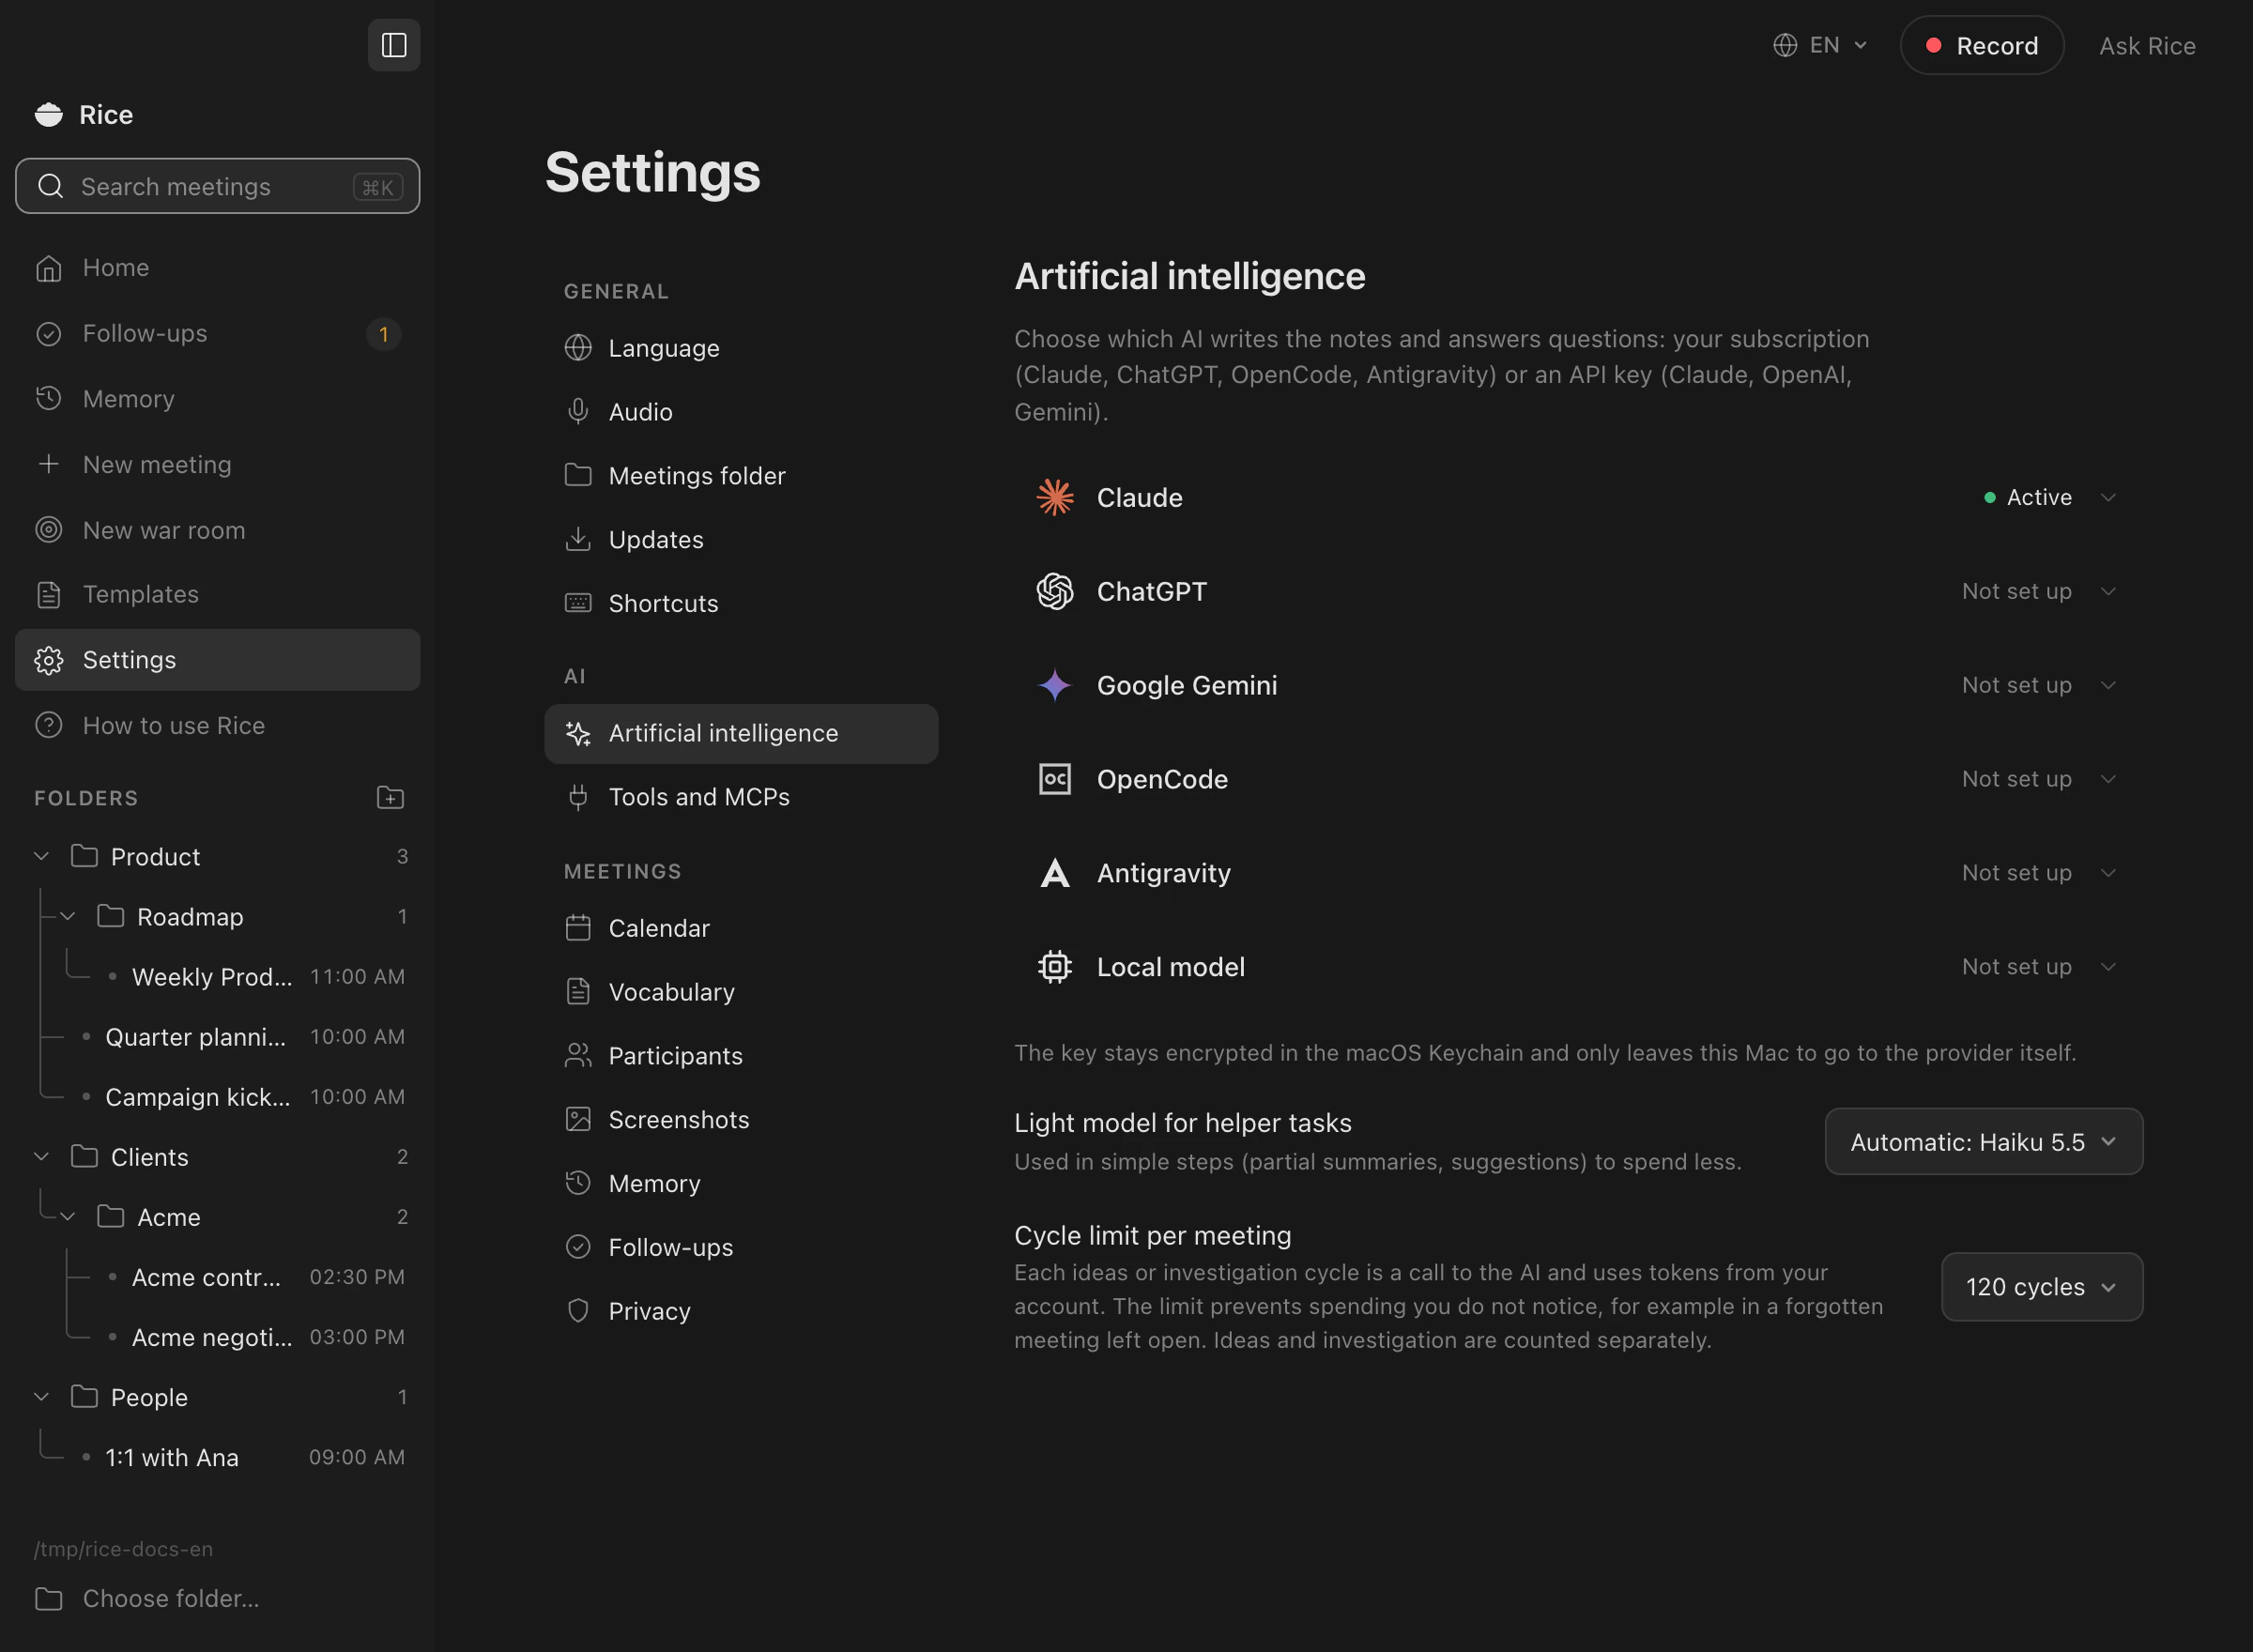
Open Settings › Artificial intelligence. Each provider is one line: click it for its steps, then Test connection and Use this one. You can connect more than one and switch at any time.
- Claude subscription: run
claude setup-tokenin Terminal, sign in in the browser and paste the token. - ChatGPT subscription: install the Codex CLI, run
codex loginand sign in with your ChatGPT account. Nothing to paste. - OpenCode: run
opencode auth loginand pick the subscription you already have. - API key from Anthropic, OpenAI or Google Gemini, billed by the provider for what you use.
- Local model: open Ollama or LM Studio (llama.cpp, MLX and Jan work too). Rice finds the server by itself, and nothing leaves your Mac.
Keys and tokens are kept in the macOS Keychain and only go to their own provider.
- Claude subscription: run
Step 5
Connect your calendar
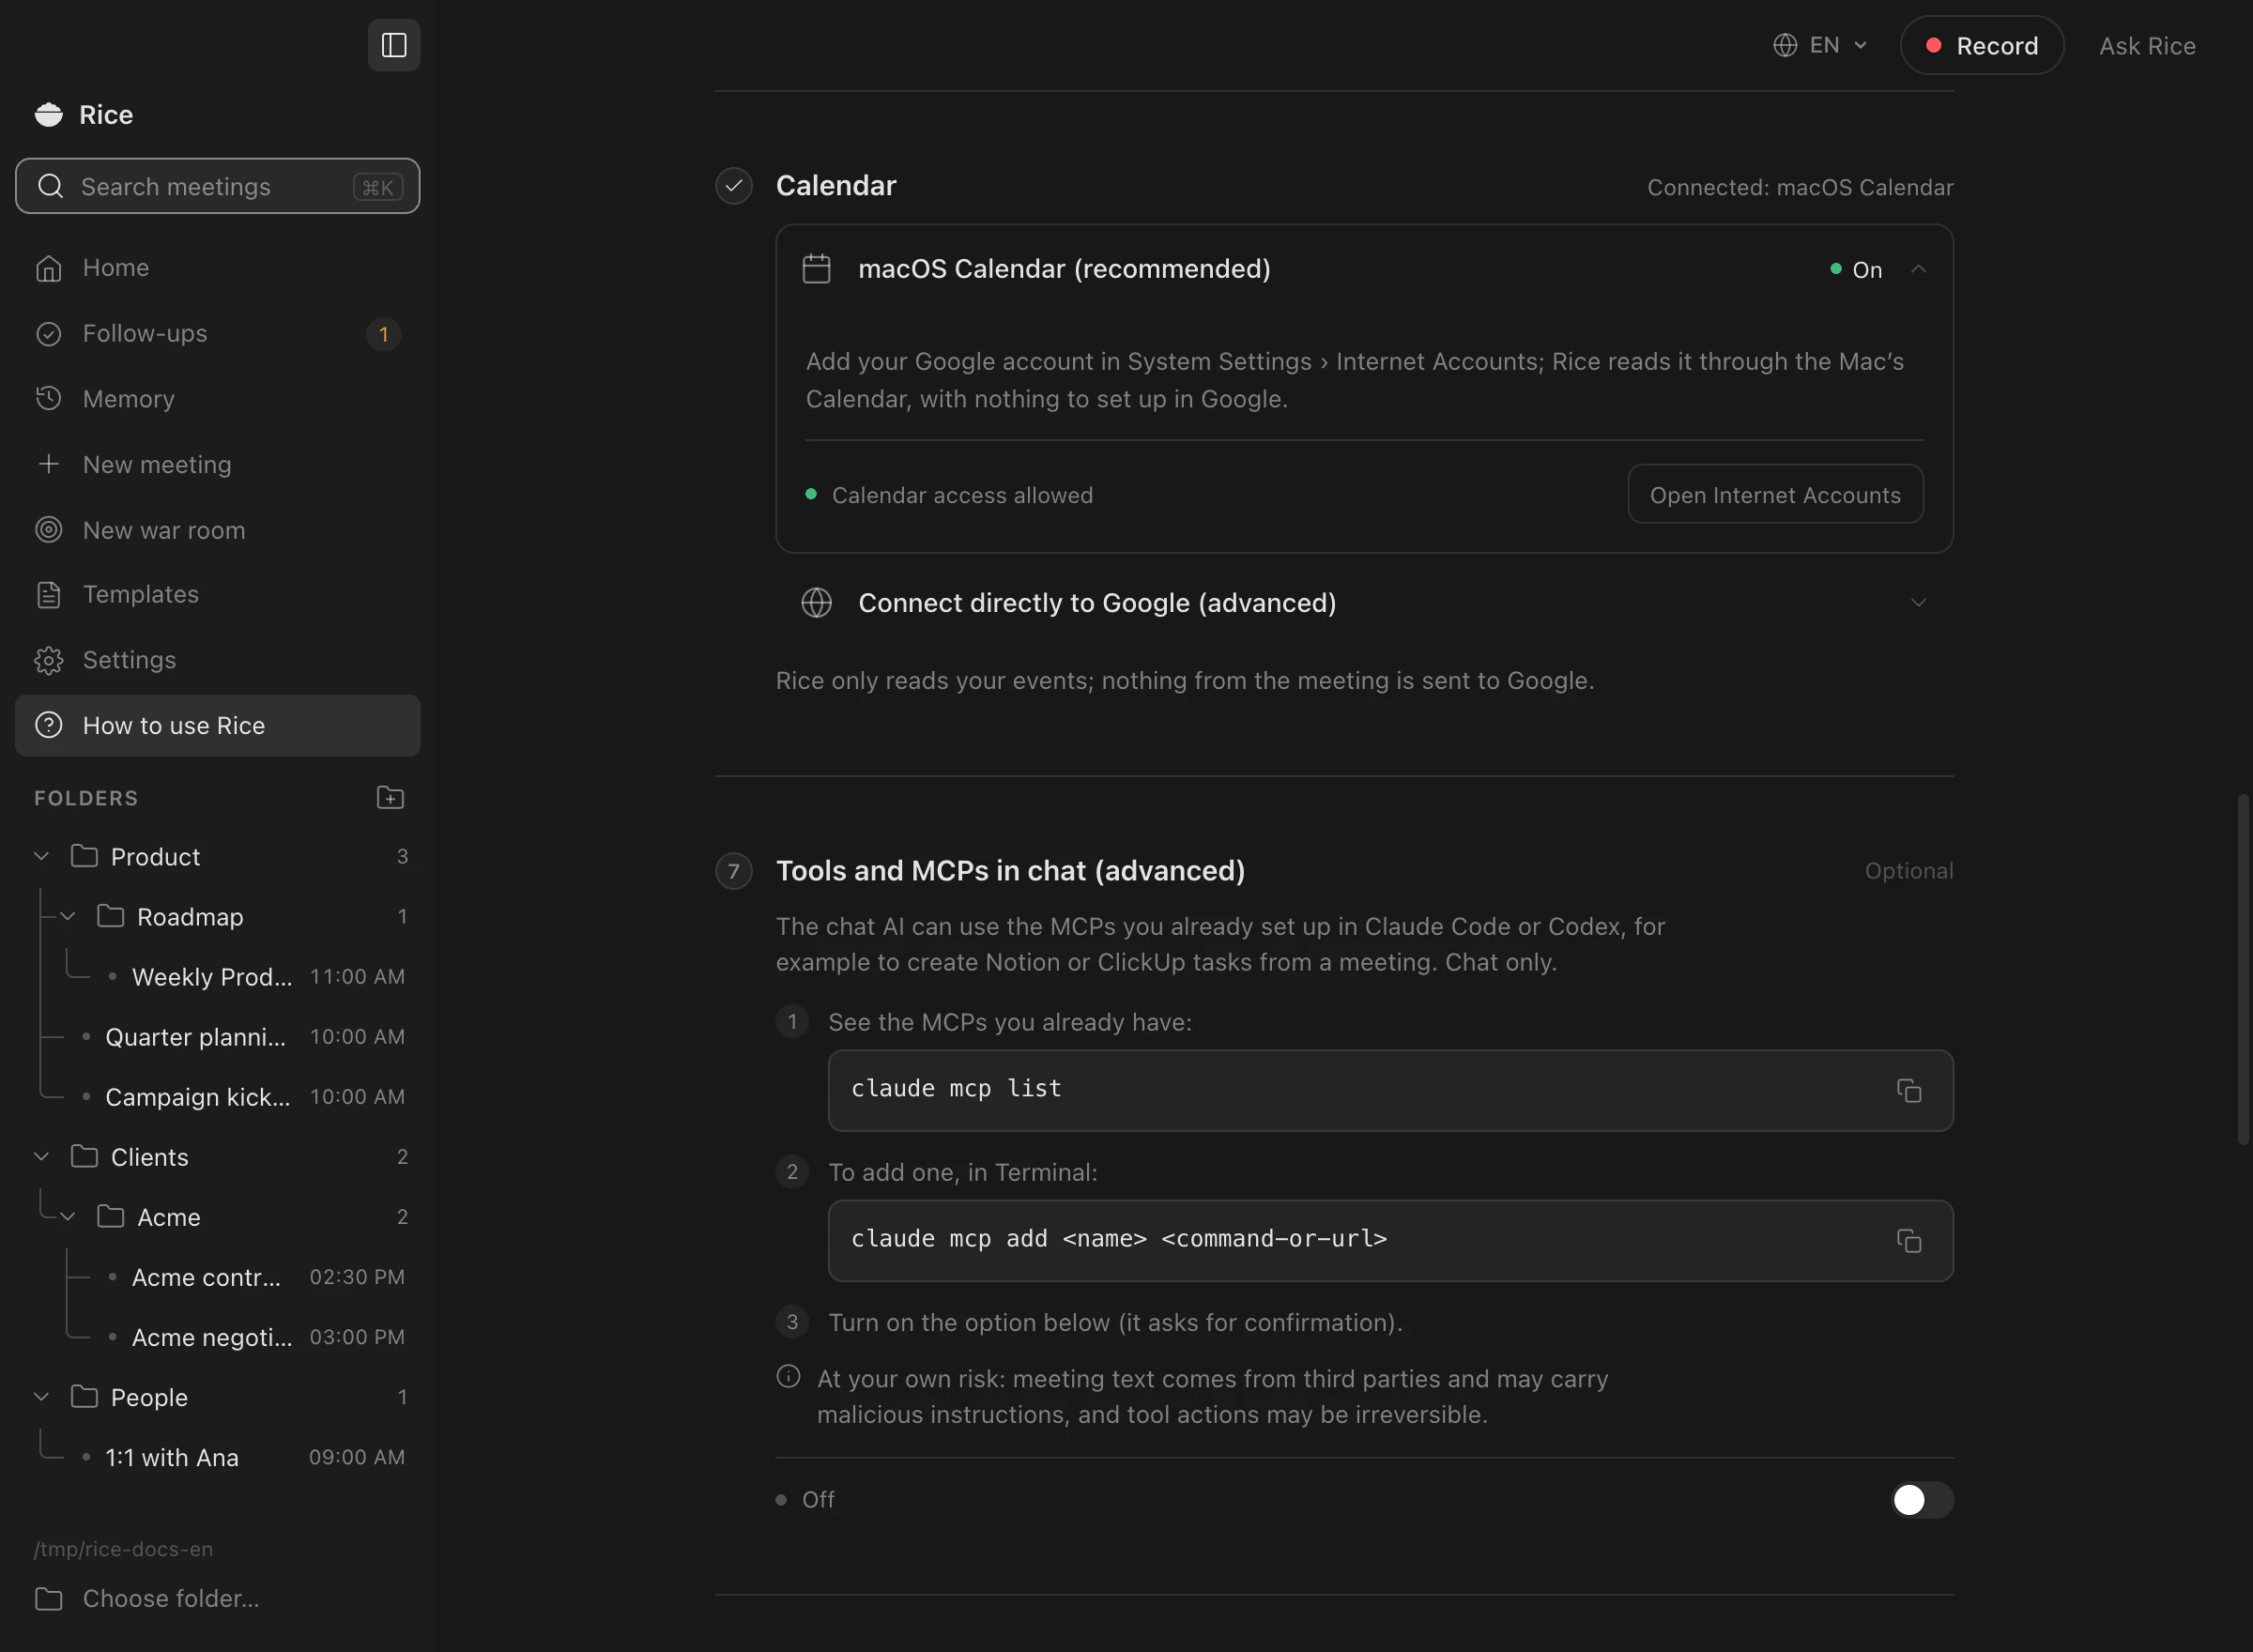
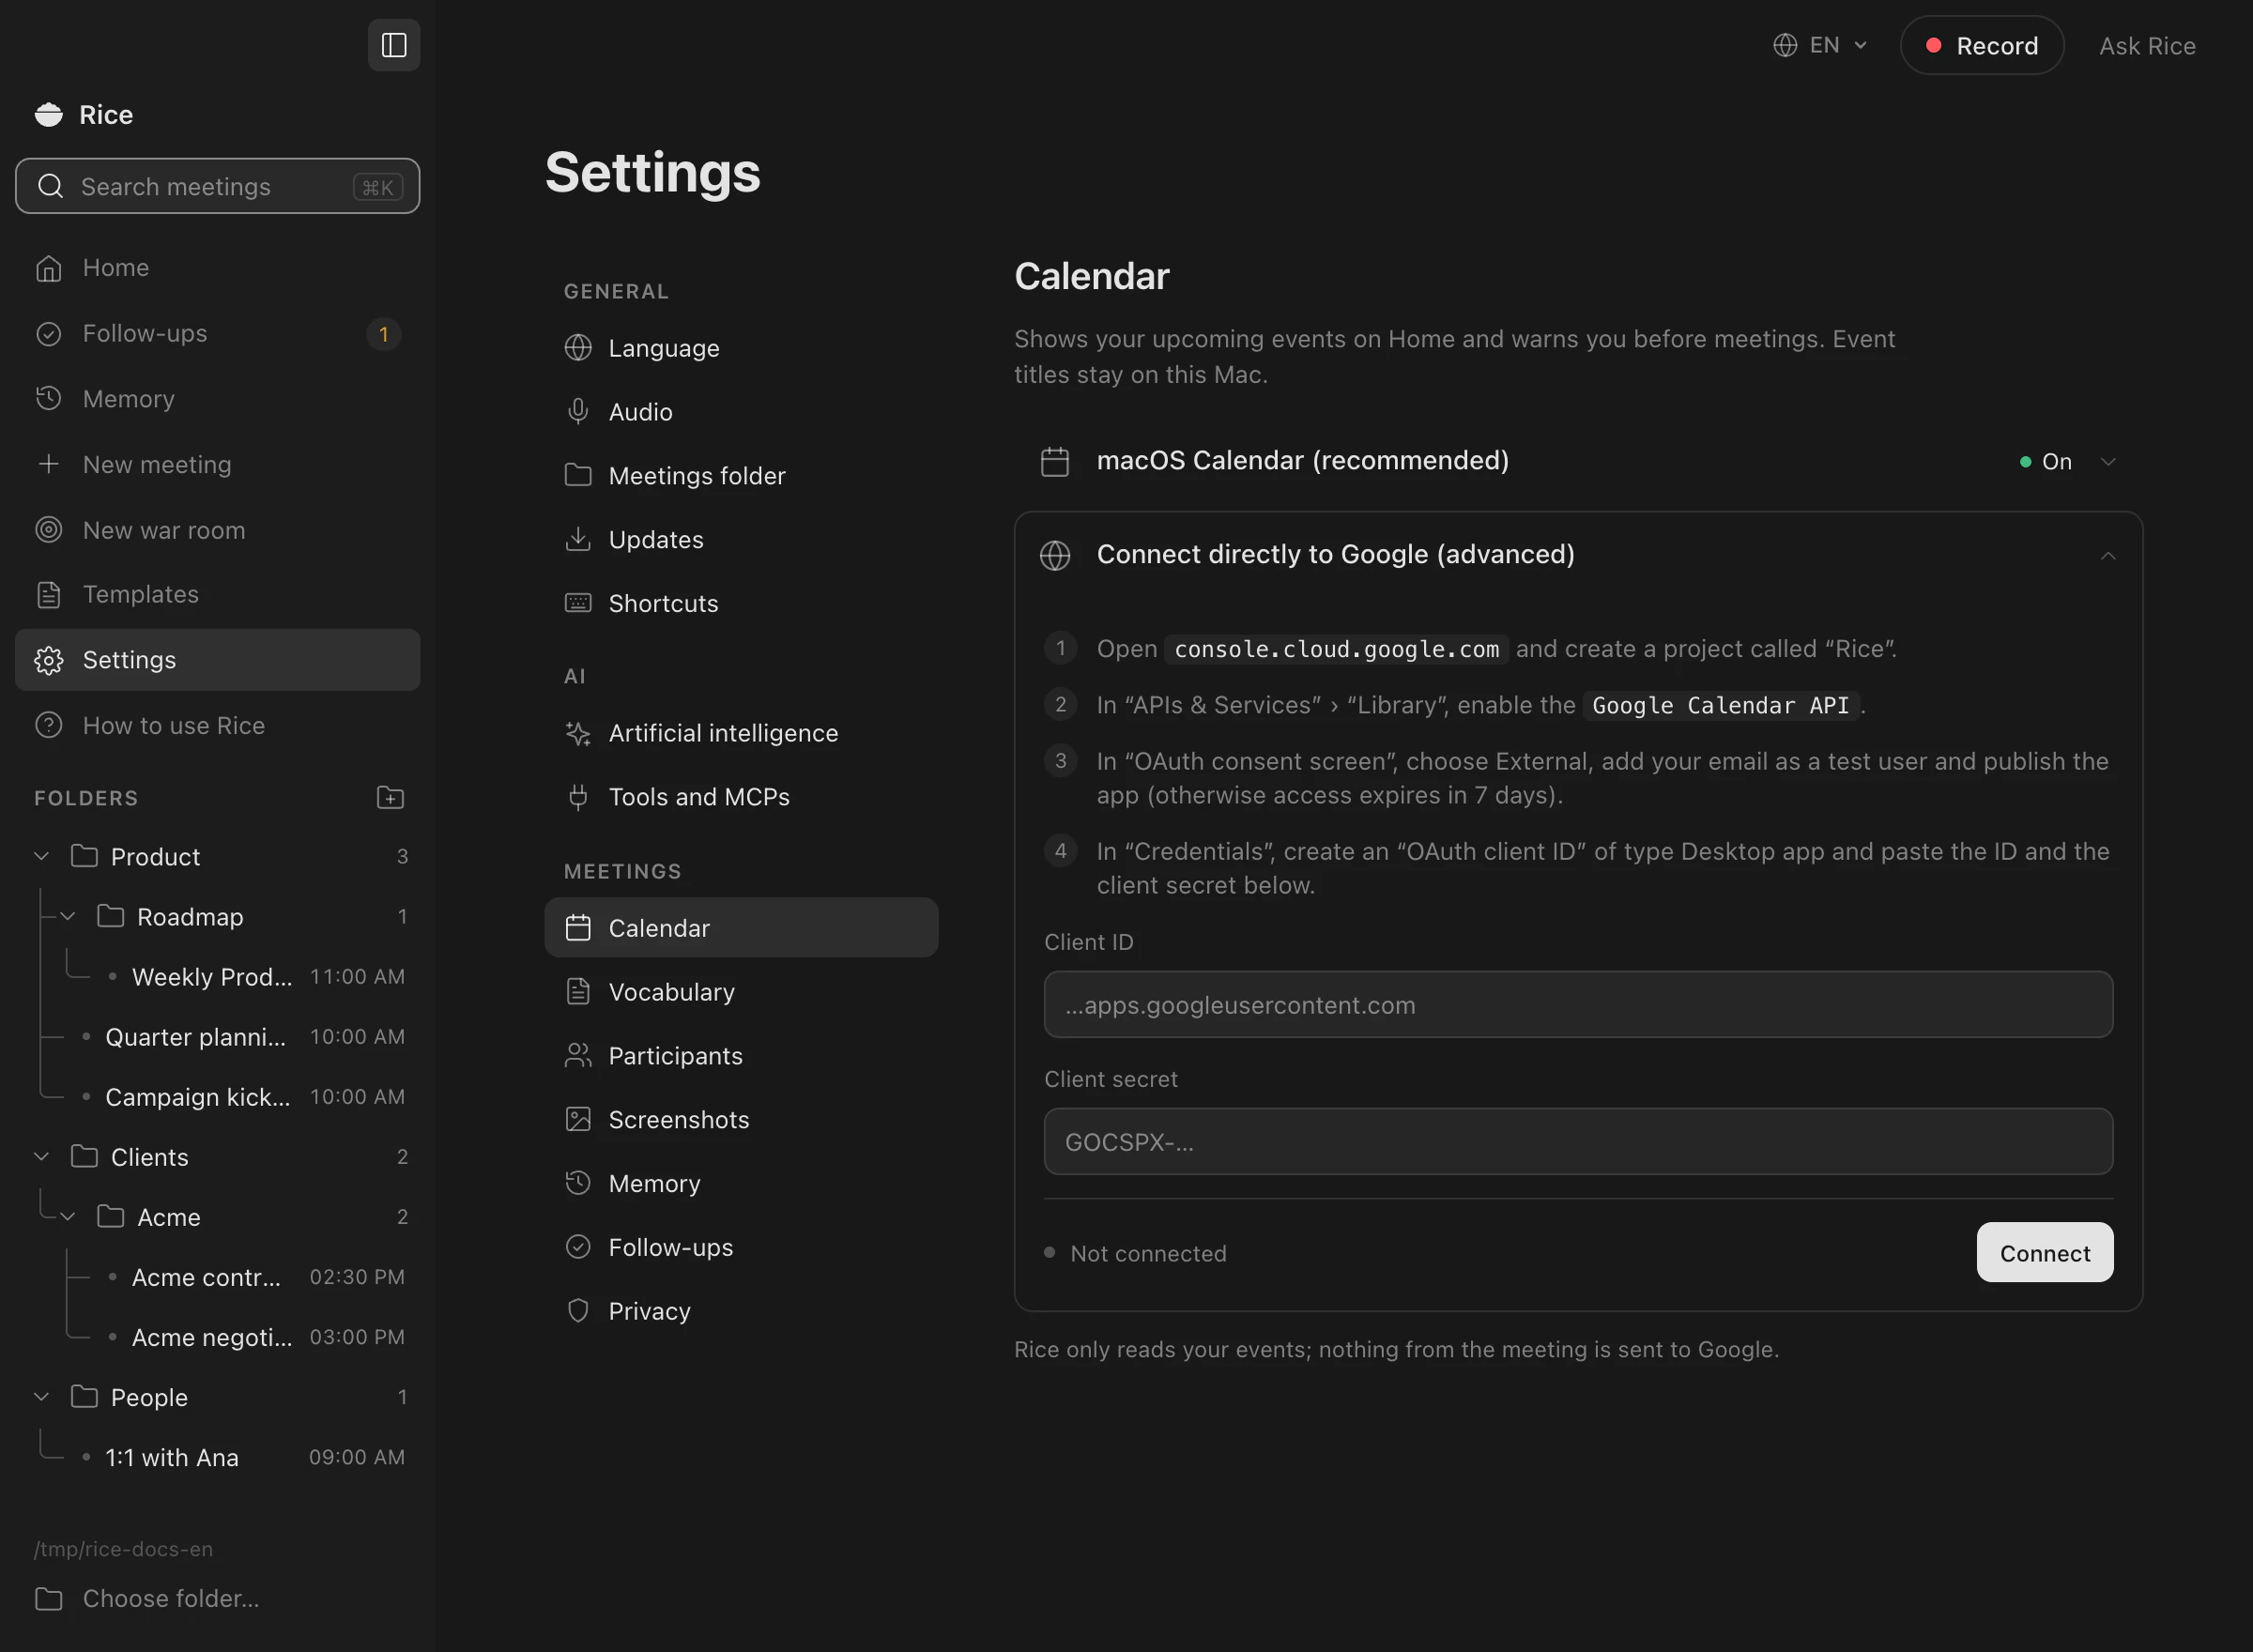
With a calendar, Home shows your next seven days and Rice knows which meeting is happening. Connect it in the guide or in Settings › Calendar:
- macOS Calendar (recommended): add your Google account in System Settings › Internet Accounts and allow Calendar access. Nothing to set up in Google.
- Google Calendar directly: with your own Google Cloud credentials, read-only.
Rice only reads your events. Titles stay on your Mac, and only the title of a meeting you record is used, with its notes. About a minute before a meeting starts, a small notice in the corner of the screen offers Join and record.
Step 6
Record a meeting
Start a recording the way that is closest:
- Record in a new meeting, or Record now on Home for the meeting that is happening, with its title filled in.
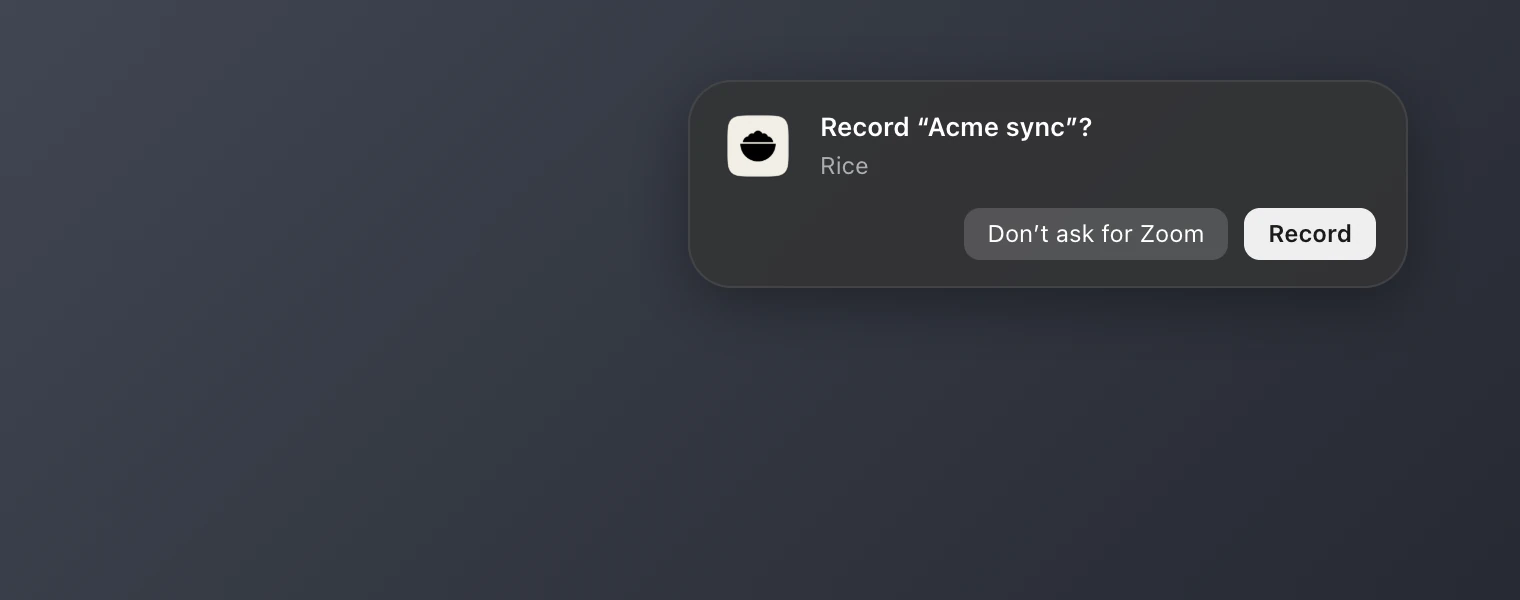
- Join and record, or Record only, in the notice that appears before a calendar meeting.
- Record in the notification Rice shows when Zoom, Teams or a call in the browser starts using the microphone. Don’t ask for turns it off for that app.
- ⌥⌘R in any app starts and stops a recording. Change it in Settings › Shortcuts.
The transcript appears as people talk. Pause releases the microphone for a side conversation, and the transcript marks the gap. When you stop, Rice writes the notes.
Step 7
Notes and templates
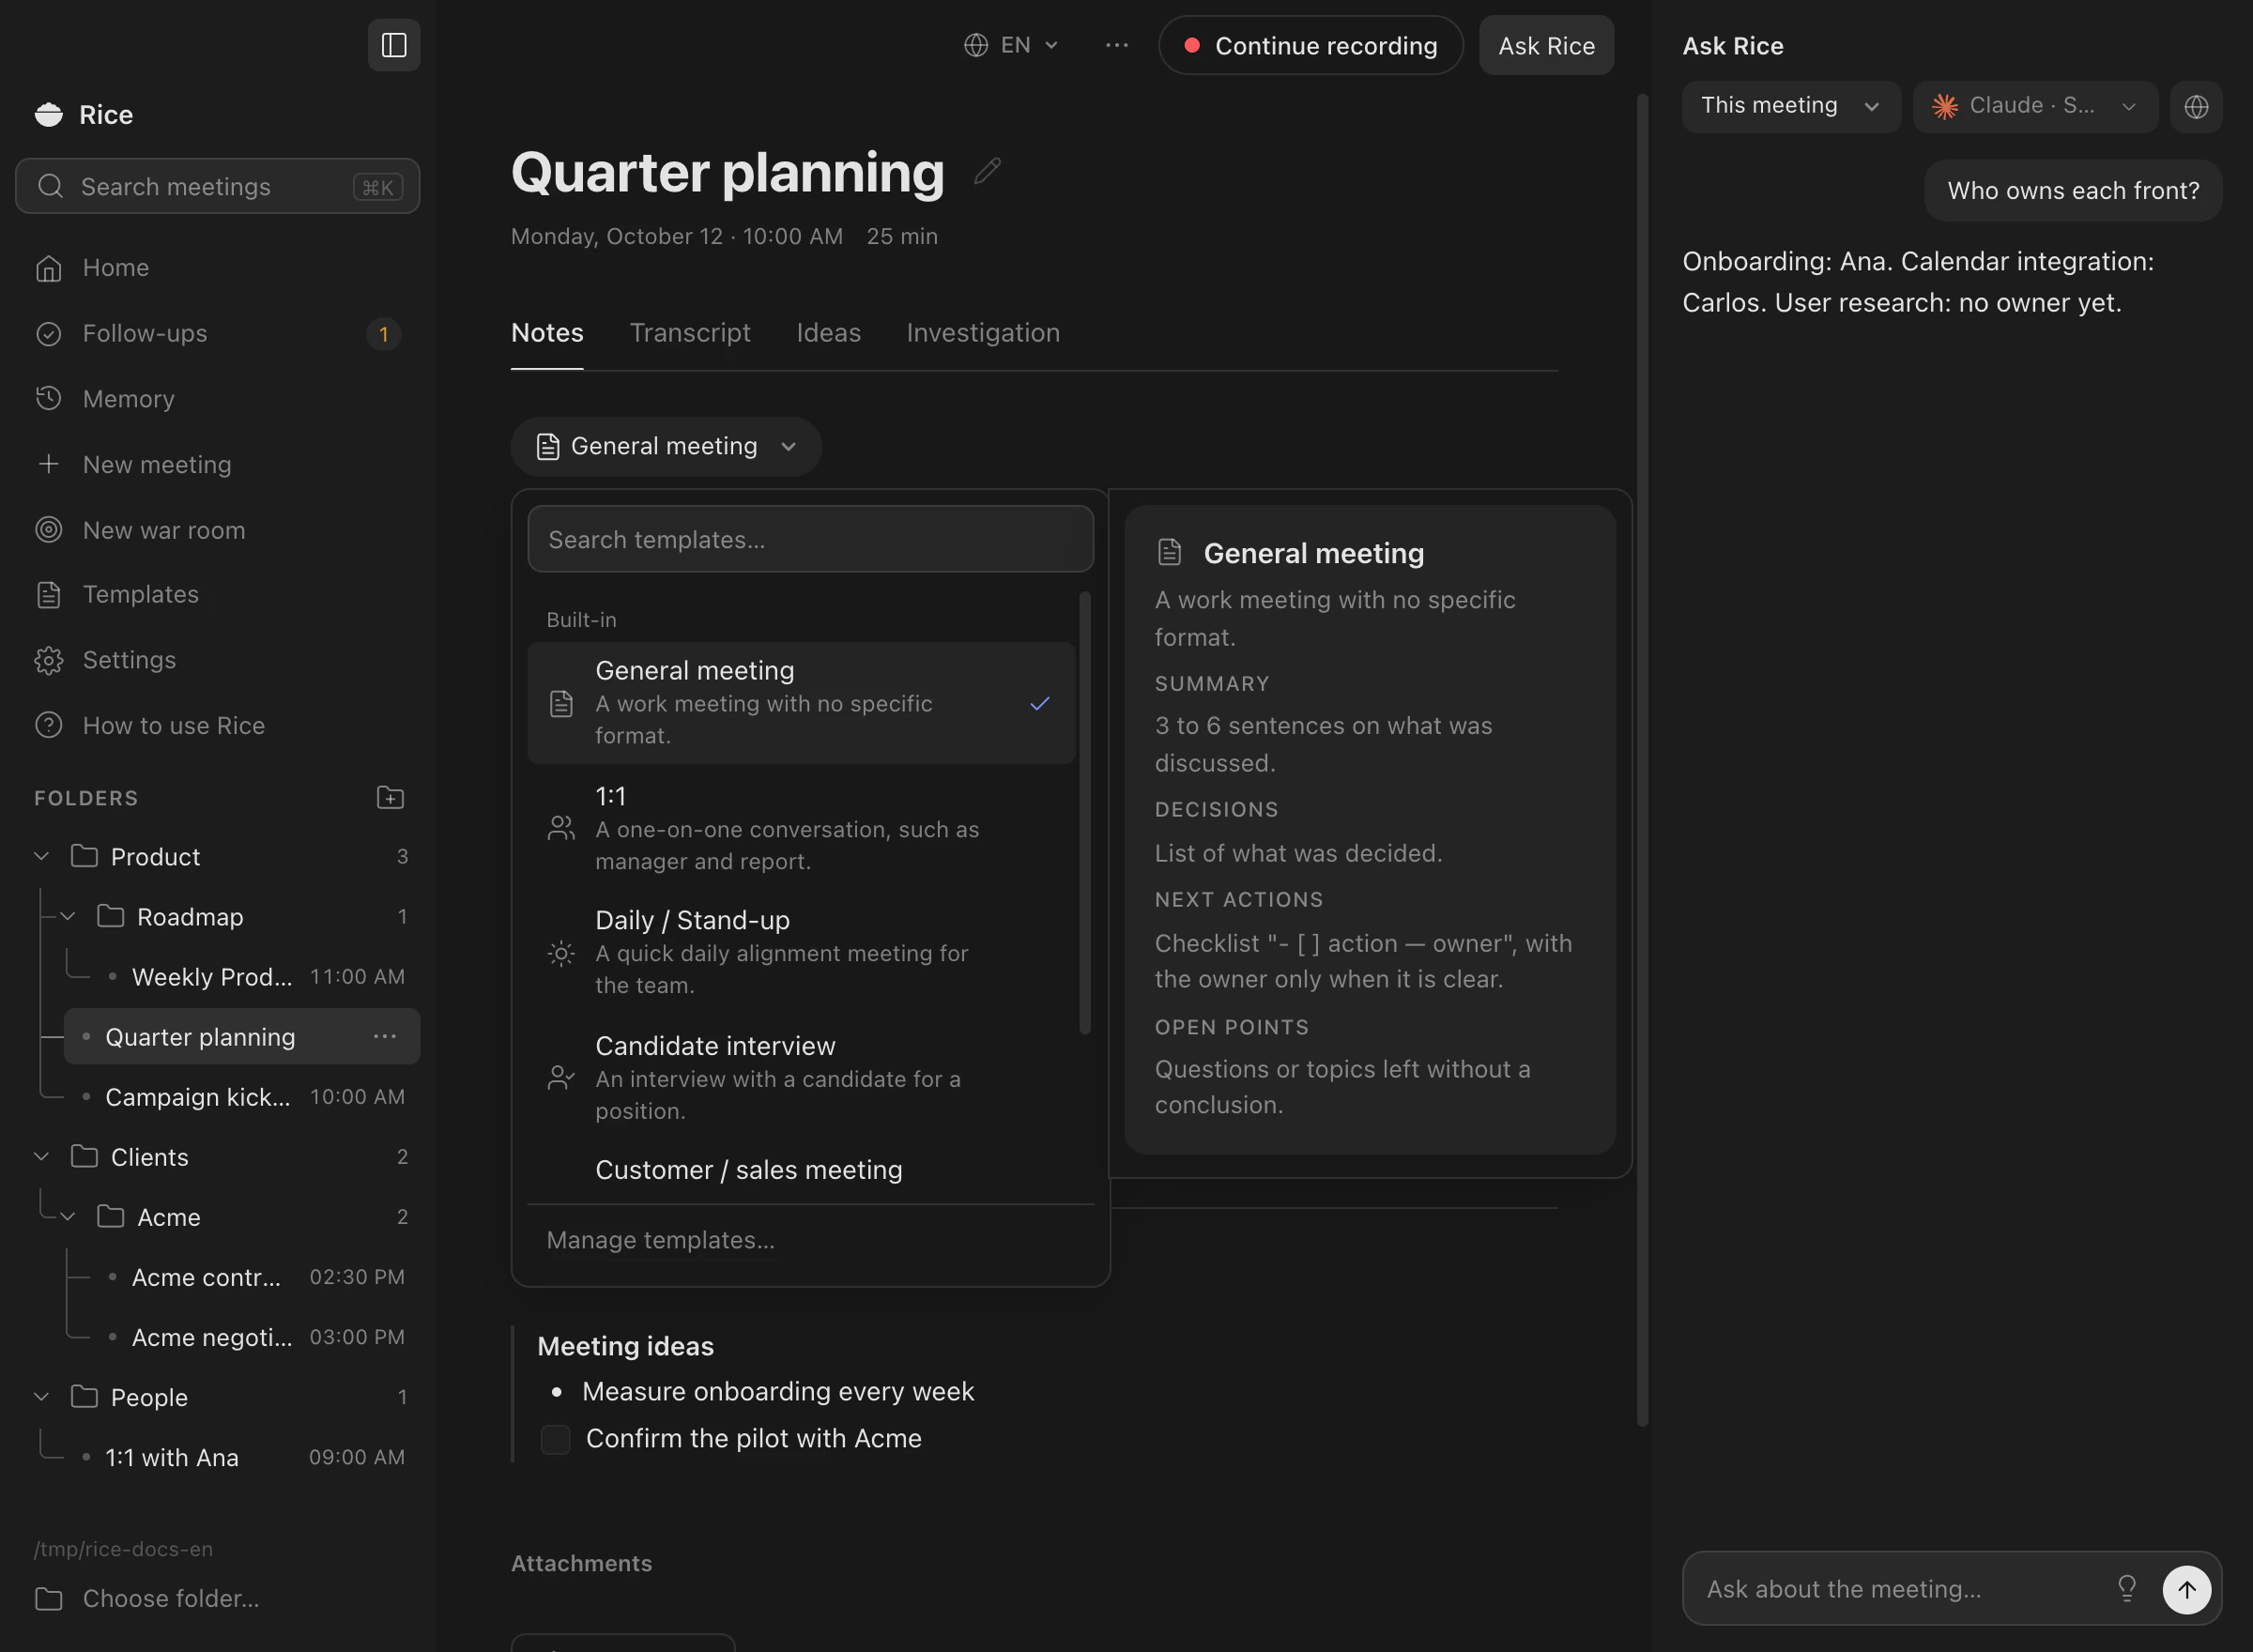
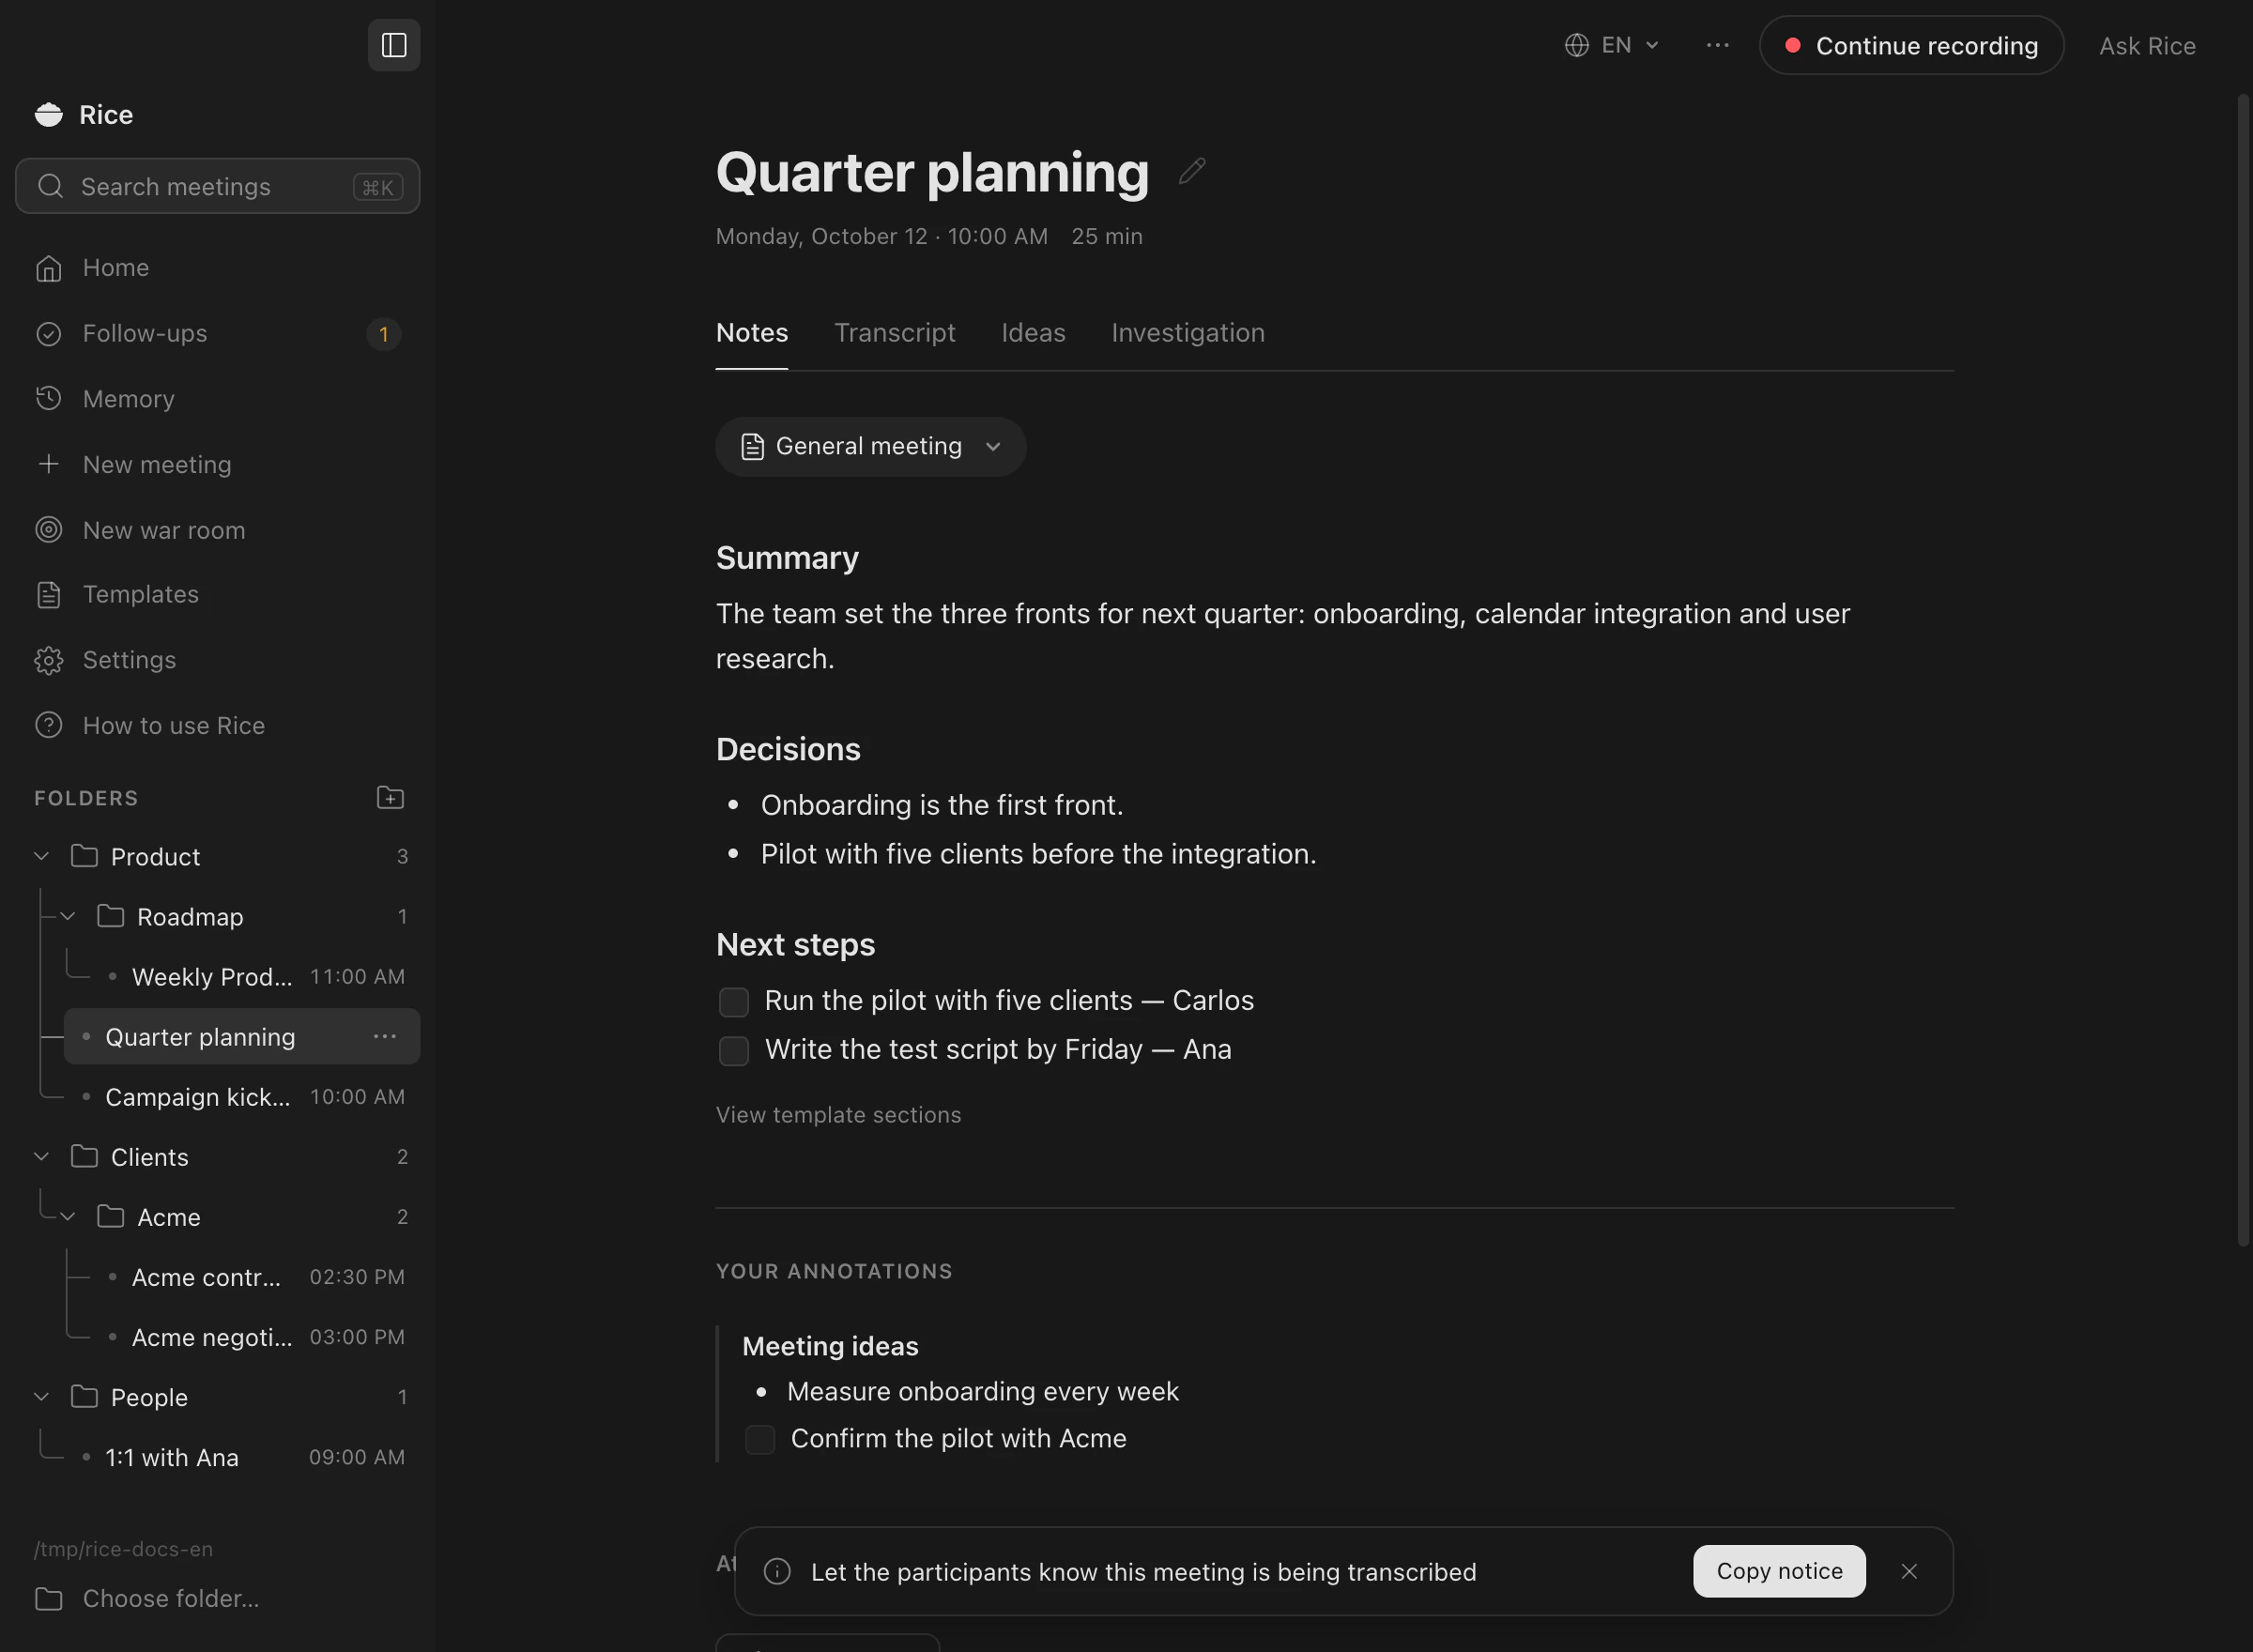
When you stop, Rice fills in the sections of a template: summary, decisions, next steps. The chip above the notes switches the template, and Templates in the sidebar lets you edit the built-in ones or write your own.
What you type in Annotations during the meeting goes into the notes, highlighted, and nothing you wrote is dropped. Generating again keeps the previous version.
Step 8
Ask Rice
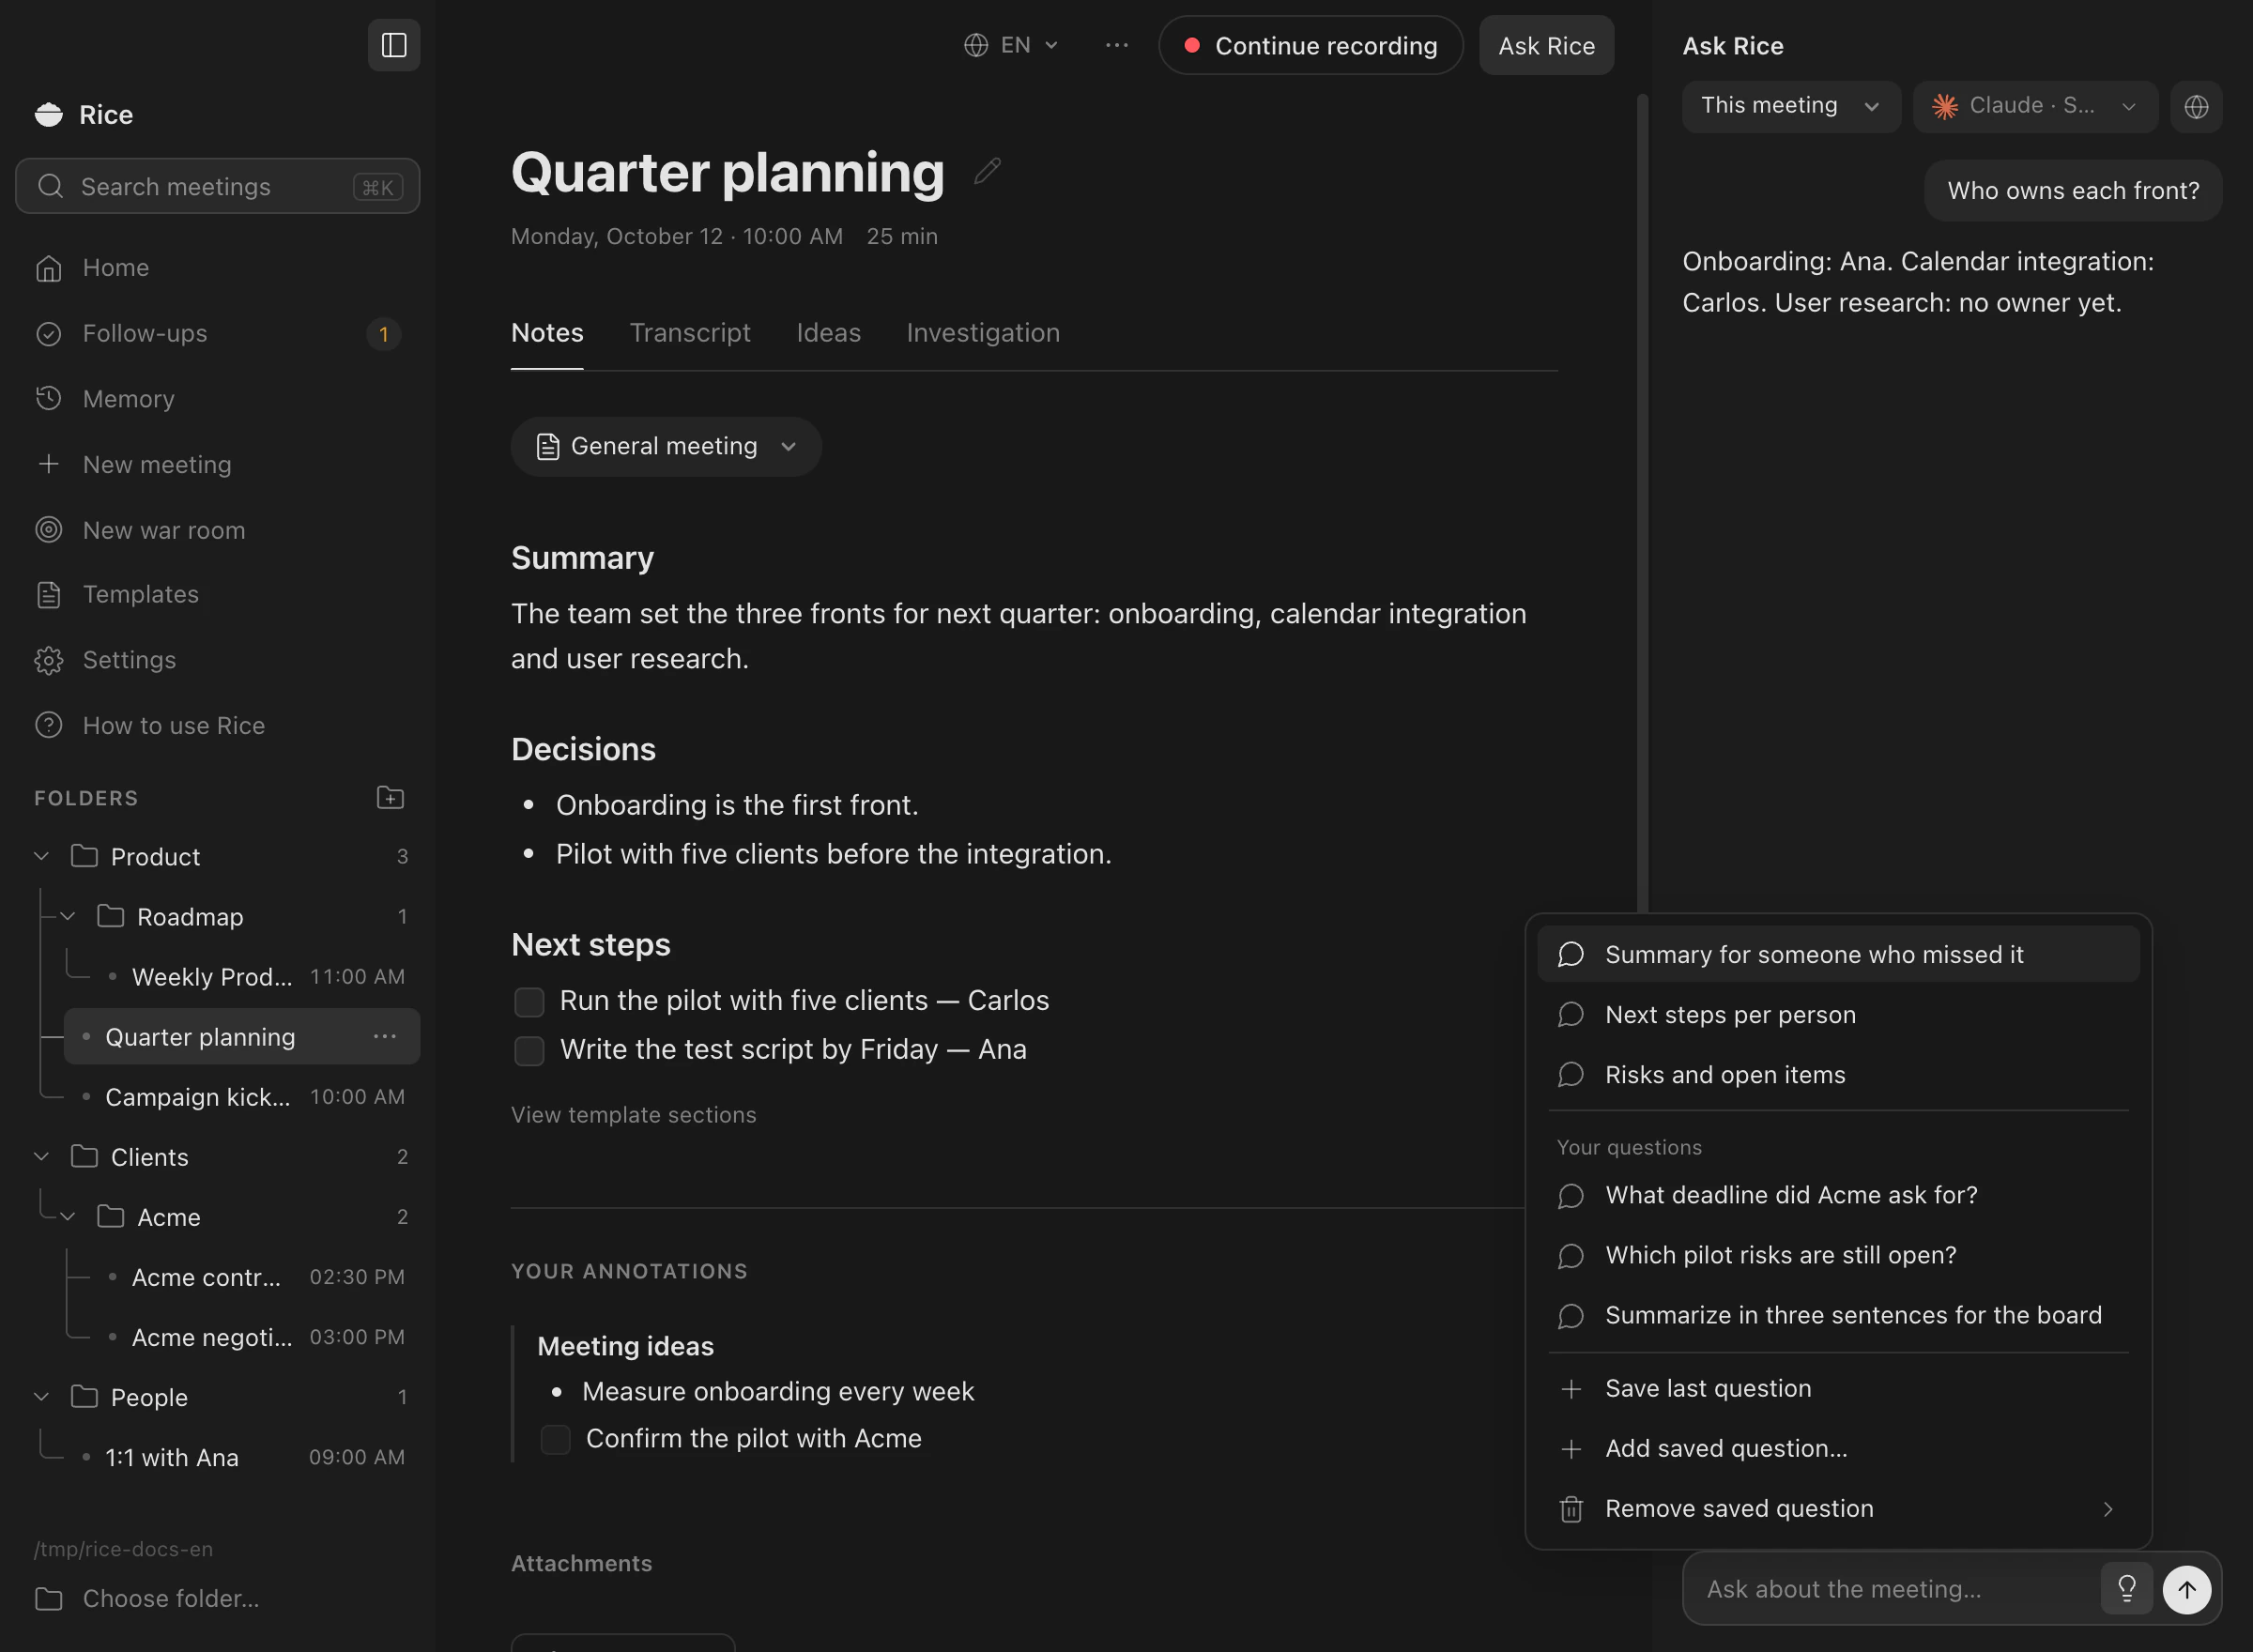
Ask Rice, at the top right, answers about the open meeting. ⌘J, or the field on Home, asks across all your meetings and answers with numbered sources that open each meeting at the passage.
The light bulb in the question field has ready questions, such as “Summary for someone who missed it”, and keeps your own. Web search is optional and off by default.
Step 9
Memory and follow-ups
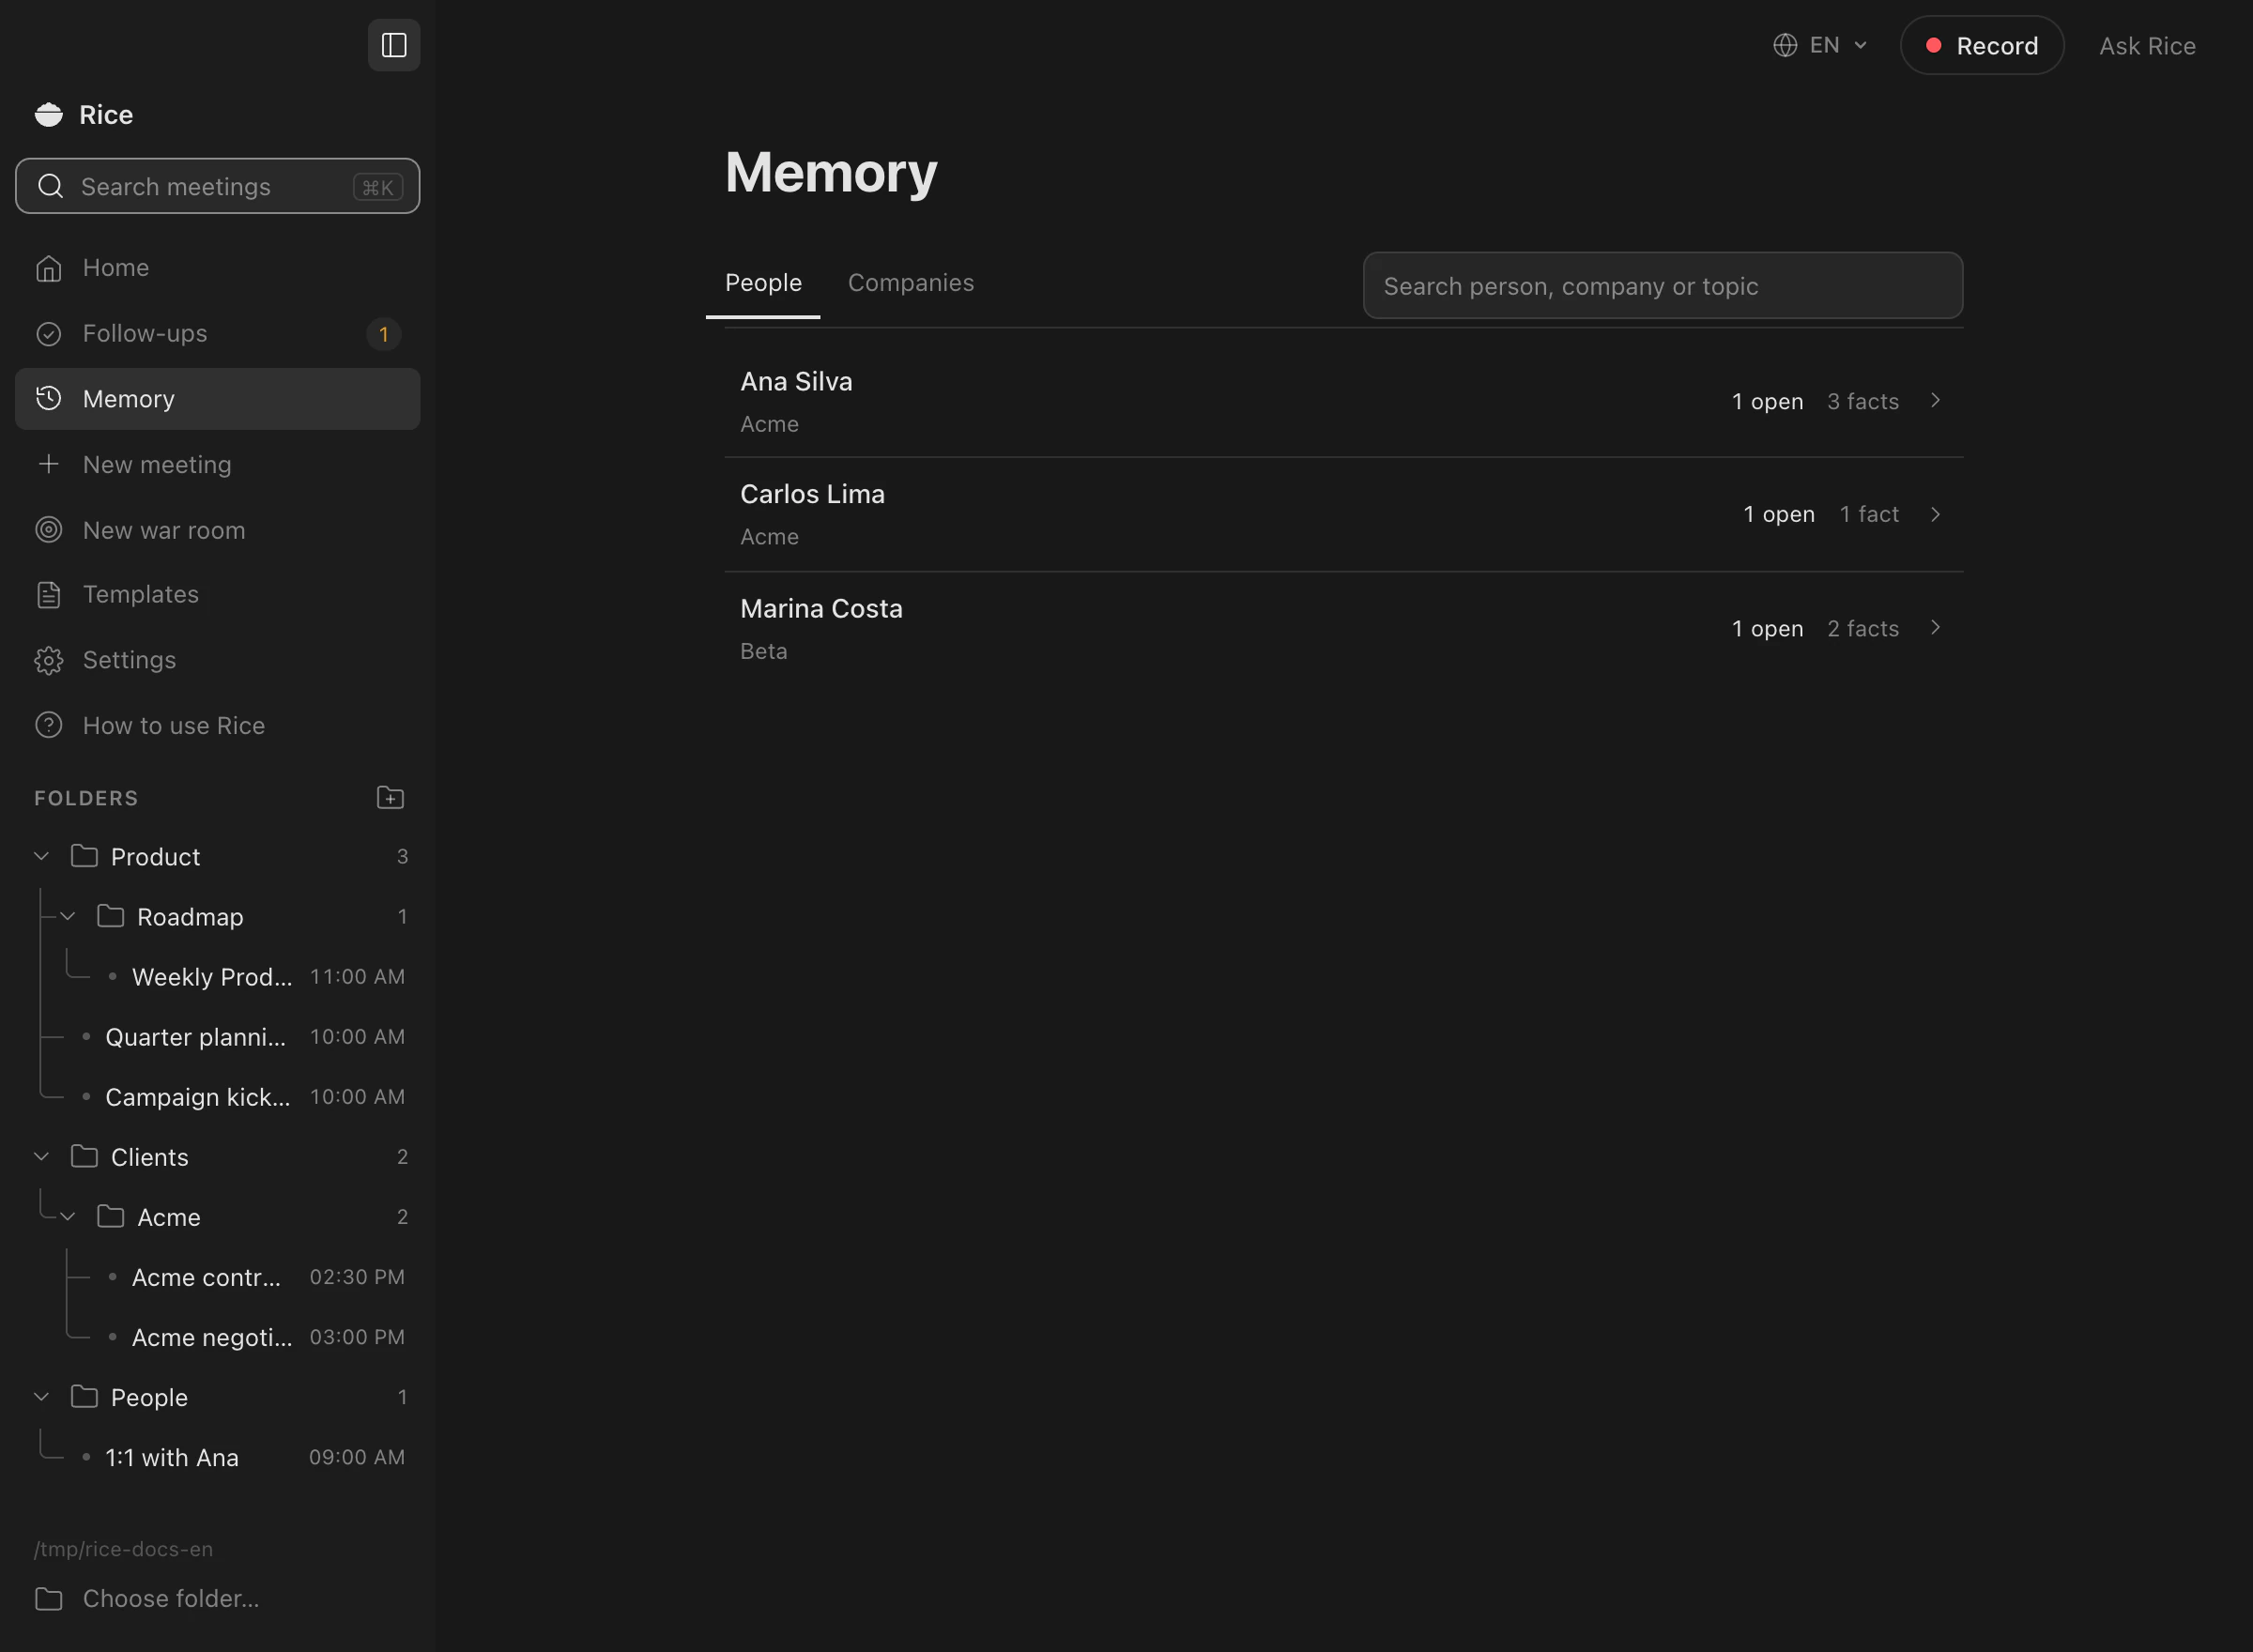
After each meeting, Rice notes what each person and company asked for, promised and decided. Before the next call with them, a What to remember card in the notes shows the open points, each linked to its meeting. Memory, in the sidebar, lists people and companies, and you can edit, resolve or forget anything.
Follow-ups gathers what you promised and what was promised to you, with due dates. Checking one checks the task in the notes, and when a later meeting says it is done, Rice marks it with the source.
Step 10
Check what leaves your Mac
Audio never leaves your Mac. Only text goes to the AI you chose, when Rice writes notes or answers.
- What left this computer, in each meeting’s ⋯ menu, is a receipt of every send to the AI: when and to which provider, never the content.
- When recording starts, a notice suggests telling the participants and offers a sentence to copy.
- Hide personal data replaces emails, phone and document numbers with markers before anything is sent.
- 100% local mode, in Settings › Privacy, with a local model, blocks every connection that is not to your own Mac.
Companies and regulated teams have a page with the details.
Step 11
Update
Run the install command again, or run this in the
~/ricefolder. It shows what changed, rebuilds and reopens Rice. Your meetings, settings and keys stay where they are../update.shWhen there is a new version, Settings › Updates says so, and its Update button opens Terminal with this command already running. macOS may ask for the permissions again after an update.


